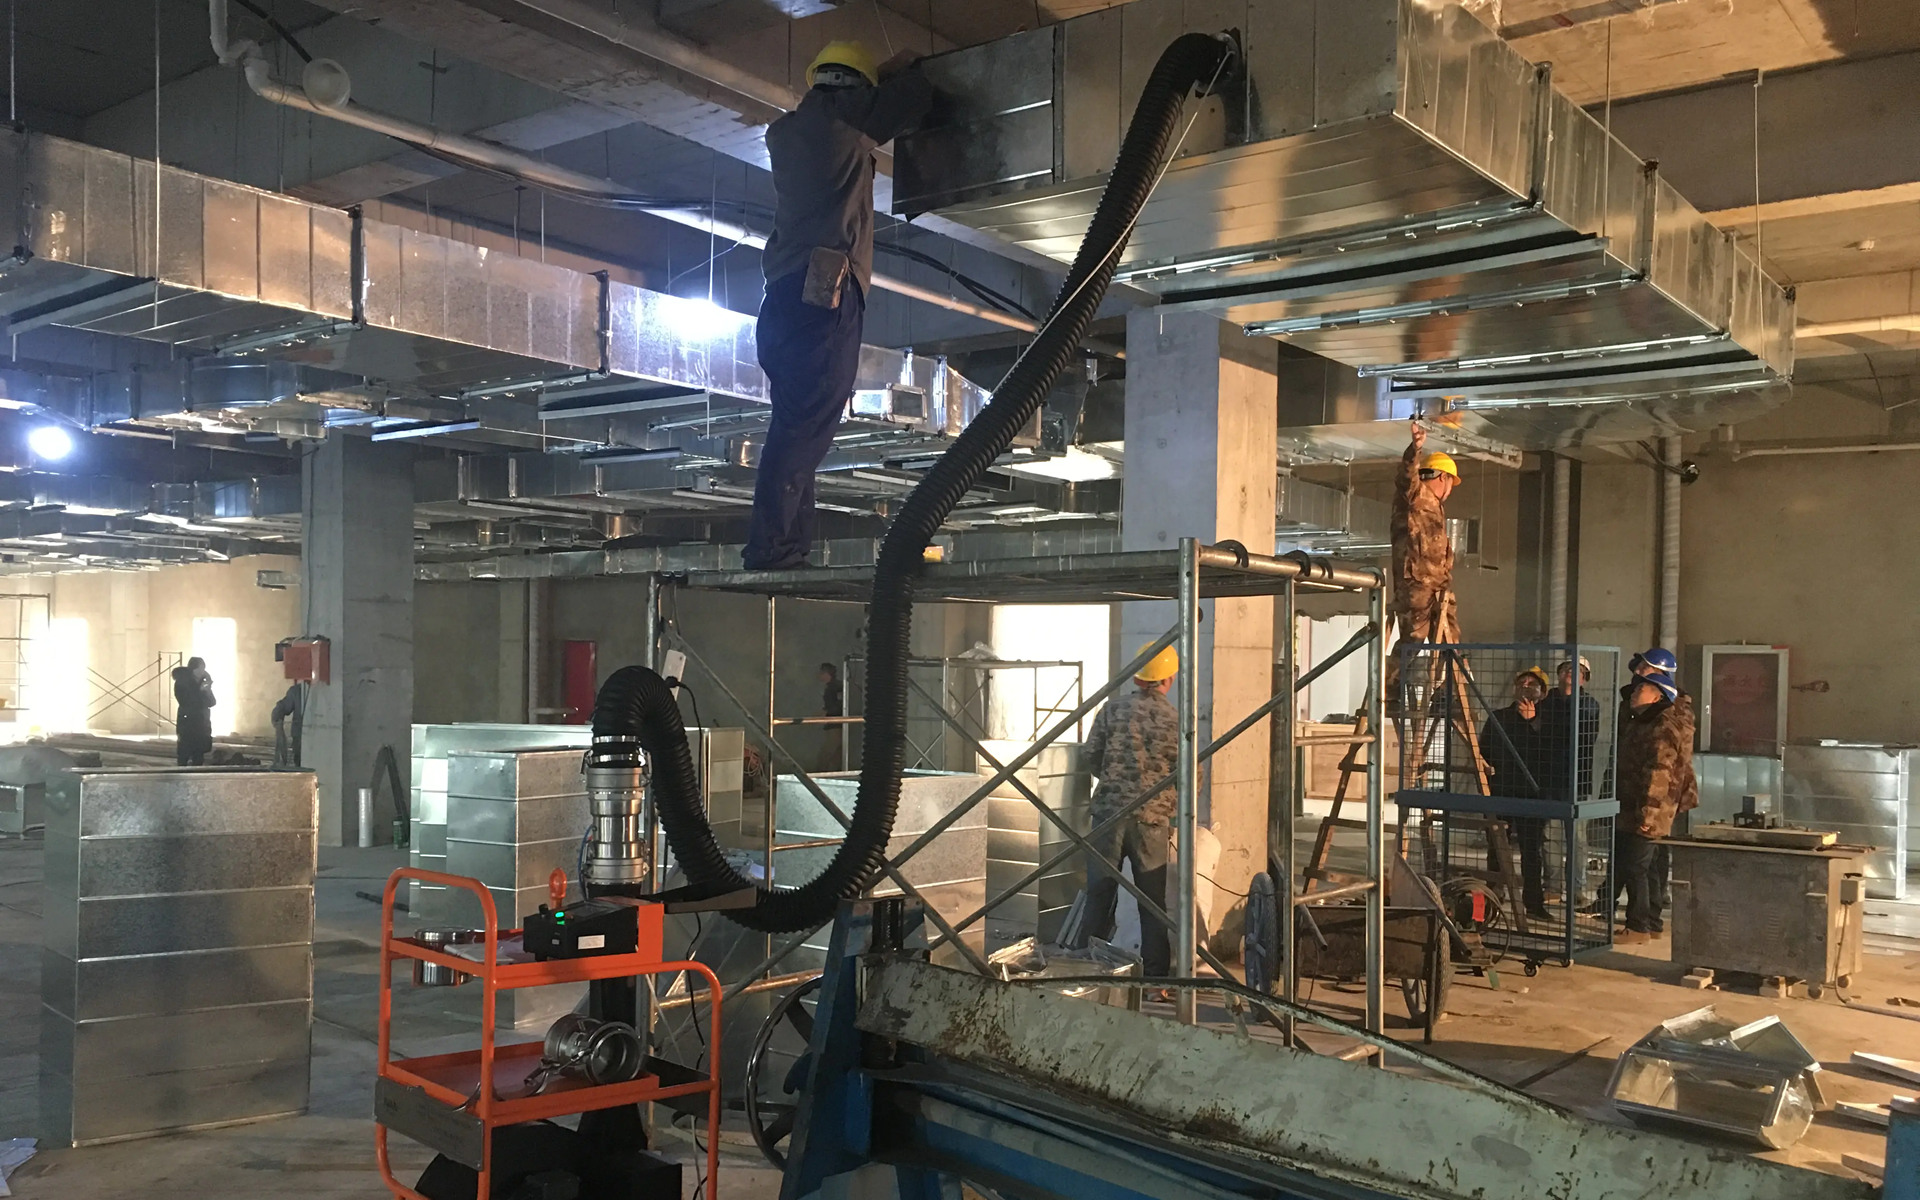
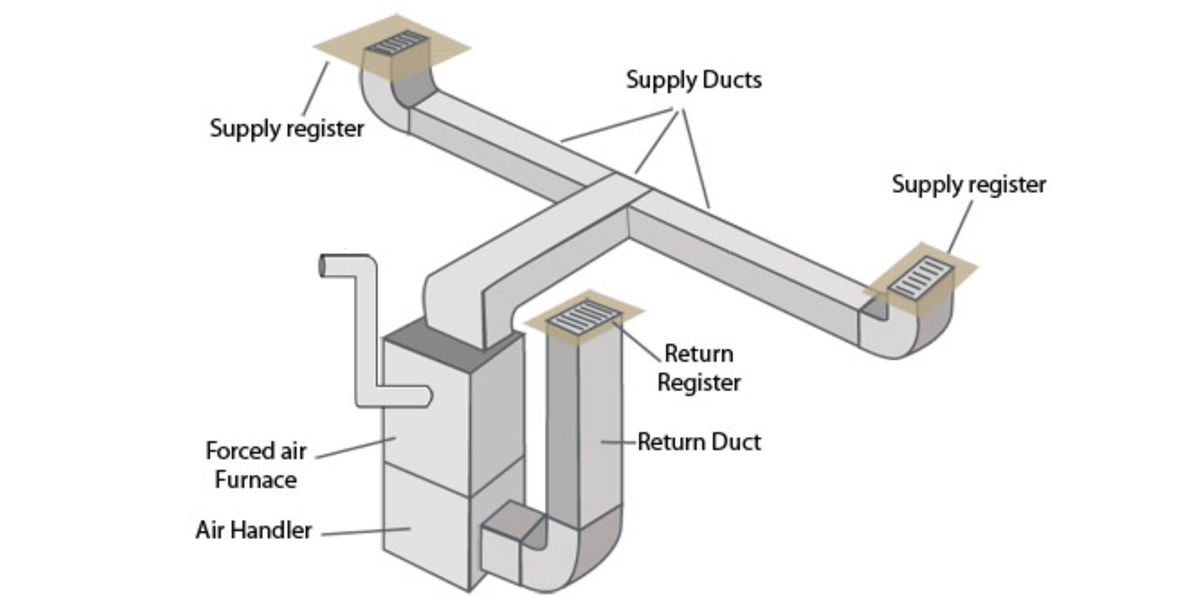
1.Importance of Duct Airtightness
Duct airtightness plays a crucial role in HVAC (Heating, Ventilation, and Air Conditioning) system efficiency, air quality, and energy consumption. When it comes to duct testing, airtightness is the ultimate challenge—materials, connections, workmanship, testing conditions, and equipment accuracy all matter. The details make or break the results.
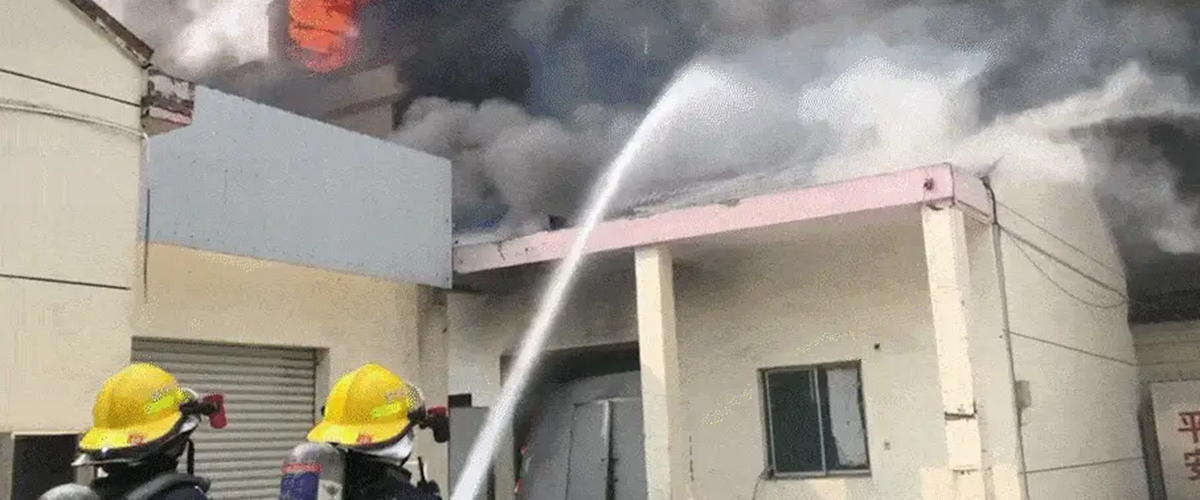
Project acceptance is like a final exam, and your duct’s airtightness is the answer sheet—there are no retakes! If your ducts are leaking, you're not just losing air; you're losing efficiency, compliance, and possibly even your client's trust. Want a smooth approval process? Seal it up tight, or get ready for some drafty consequences!
This guide covers the key methods for duct airtightness testing, including pressure testing, smoke testing, and ultrasonic leak detection. It also explores airtightness requirements for different duct types (Pre-Insulated Ducts, Rectangular Ducts, and Spiral Ducts) and the international and national standards (wie zum Beispiel ASHRAE 111, SMACNA, ISO 5801, and GB 50019-2015) that define duct sealing performance. By applying scientific testing methods and strict standards, HVAC systems can achieve long-term efficiency and safety.
2.Methods for Duct Airtightness Testing
2.1 Pressure Test (Duct Pressurization Test)
The pressure test is the primary method for evaluating duct system airtightness. It works by applying a specific pressure inside the duct and measuring the amount of air leakage at a stable state to determine airtightness levels.
Step-by-Step Process:
- Select the test section – Choose the duct segment to be tested and isolate it from the rest of the system.
- Seal all openings – Close off all inlets and outlets to prevent interference from uncontrolled air leakage.
- Connect test equipment – Attach an airtightness tester to one end of the duct and a fan with adjustable airflow to the other.
- Apply pressure – Turn on the fan and pressurize the duct to the required level (typically 200Pa, 400Pa, or 1000Pa) while keeping the pressure stable.
- Measure leakage rate – Use testing instruments to measure the amount of air leakage under stable pressure and record the data.
- Evaluate results – Compare the leakage rate with relevant standards to determine if the duct meets airtightness requirements.
Key Considerations:
- Ensure testing equipment is regularly calibrated for accuracy.
- Avoid external factors like wind and temperature fluctuations that could affect results.
- Use the correct test pressure based on the duct’s pressure class.
2.2 Smoke Test
The smoke test is a visual inspection method where visible, non-toxic smoke is introduced into the duct to detect leaks. If smoke escapes, you've got a leak!
Step-by-Step Process:
- Preparation – Shut down the duct system to eliminate airflow.
- Introduce smoke – Use a smoke generator to inject visible, harmless smoke into the duct.
- Observe leaks – Carefully inspect joints, seams, and potential weak spots to identify where smoke is escaping.
- Document results – Mark leakage points and record findings for follow-up repairs.
Key Considerations:
- Use environmentally safe, non-toxic smoke.
- Conduct tests in a still-air environment to prevent smoke from dispersing.
- For large duct systems, testing in sections may be necessary.
2.3 Ultrasonic Leak Detection
Ultrasonic testing detects high-frequency sounds generated by air leaks. A specialized ultrasonic detector picks up these signals, pinpointing leak locations.
Step-by-Step Process:
- Preparation – Turn off the duct system to eliminate background airflow.
- Apply pressure – Introduce positive or negative pressure to enhance the speed of air escaping through leaks.
- Scan for leaks – Move the ultrasonic detector along the duct surface to locate high-frequency signals from air leaks.
- Mark leakage points – Identify and mark leak locations for later repairs.
Key Considerations:
- Minimize background noise, as ultrasonic testing is sensitive to sound.
- Ensure operators receive proper training to interpret readings accurately.
- Small leaks may require multiple scans to confirm.
3.Testing Details & Best Practices
During duct airtightness testing, several key factors can affect accuracy:
- Choosing the right equipment – Use calibrated instruments that comply with industry standards.
- Selecting appropriate test pressure – Low-pressure systems: 200Pa, medium-pressure systems: 400Pa, High-pressure systems: 1000Pa
- Placement of measurement points – Focus on critical areas such as joints, bends, and branch points for a comprehensive evaluation.
- Controlling environmental conditions – Conduct tests in a low-wind, stable-temperature environment to prevent external interference.
- Recording & analyzing data – Keep detailed test records and compare results against ASHRAE 111, ISO 5801, or GB 50019-2015 standards.
4.Common Duct Types & Their Airtightness Requirements
Different duct types have varying airtightness demands in HVAC systems.
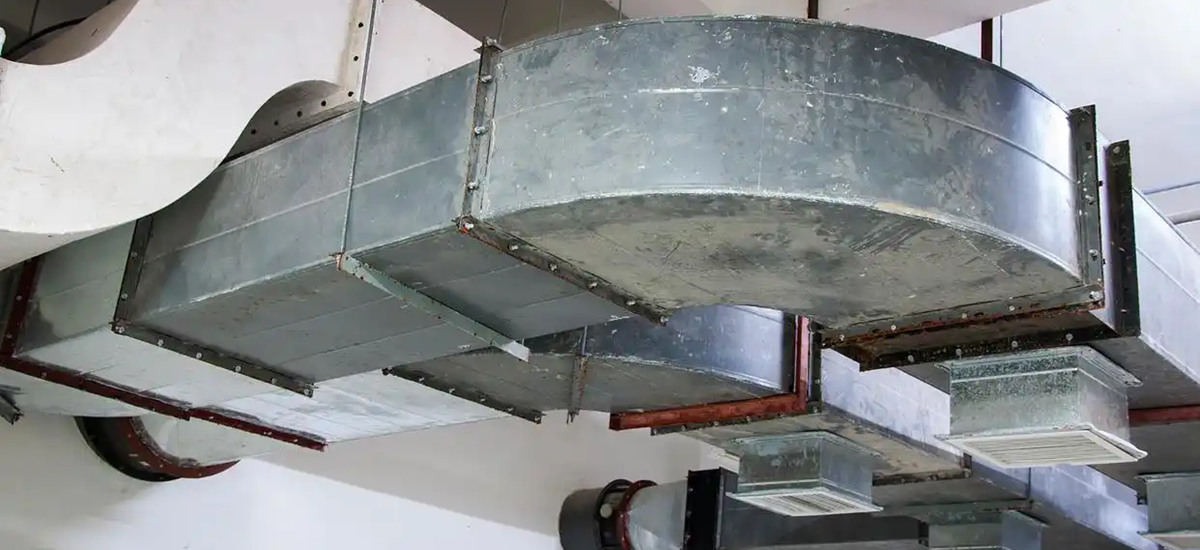
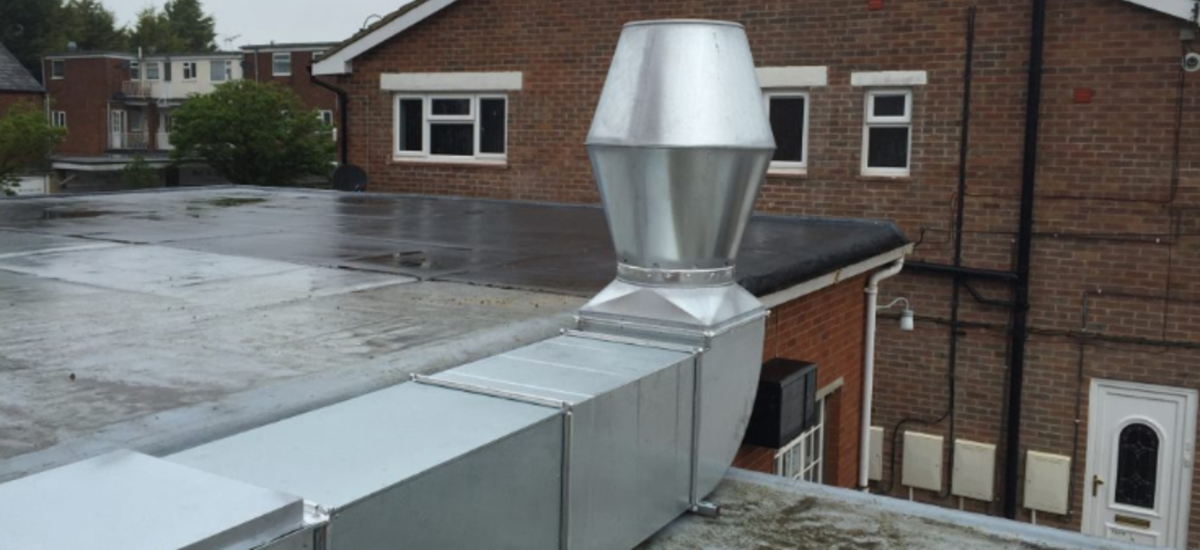
4.1 Rectangular Metal Ducts
Made from galvanized steel or stainless steel, widely used in commercial and industrial HVAC systems. Multiple seams & flange connections make sealing more complex.
Airtightness Requirements:
- TDF or angle steel flanges must be sealed with gaskets.
- Joint seams require sealant reinforcement, especially in high-pressure systems.
- Reinforcement for large ducts (e.g., stiffeners or support structures) prevents deformation that can cause leaks.
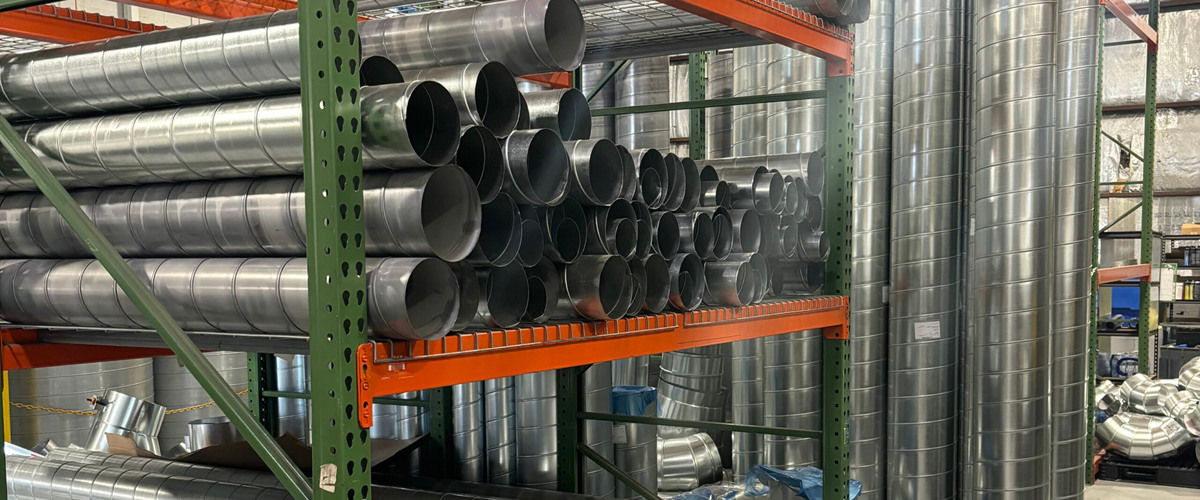
4.2 Spiral Ducts
Constructed from galvanized steel, stainless steel, or aluminum using a spiral seam design.Fewer connections = better airtightness & lower leakage risk.
Airtightness Requirements:
- Spiral seams must be tightly sealed during manufacturing.
- Flange or slip connections should use sealant or rubber gaskets to prevent leaks.
- Sealed duct joints ensure compliance with medium- and high-pressure system requirements.
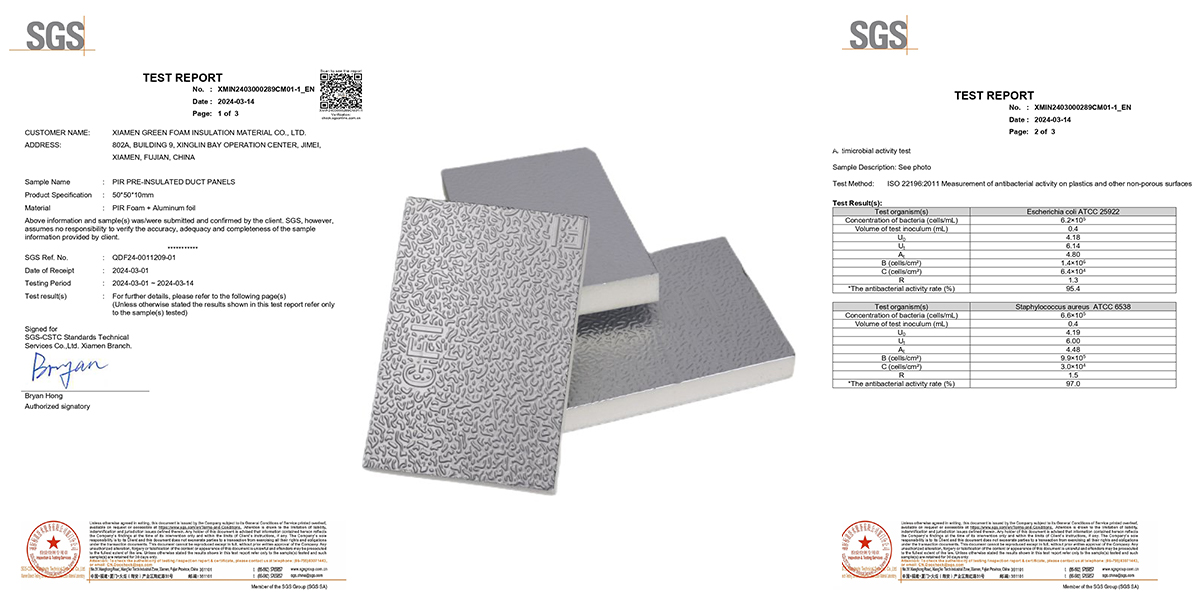
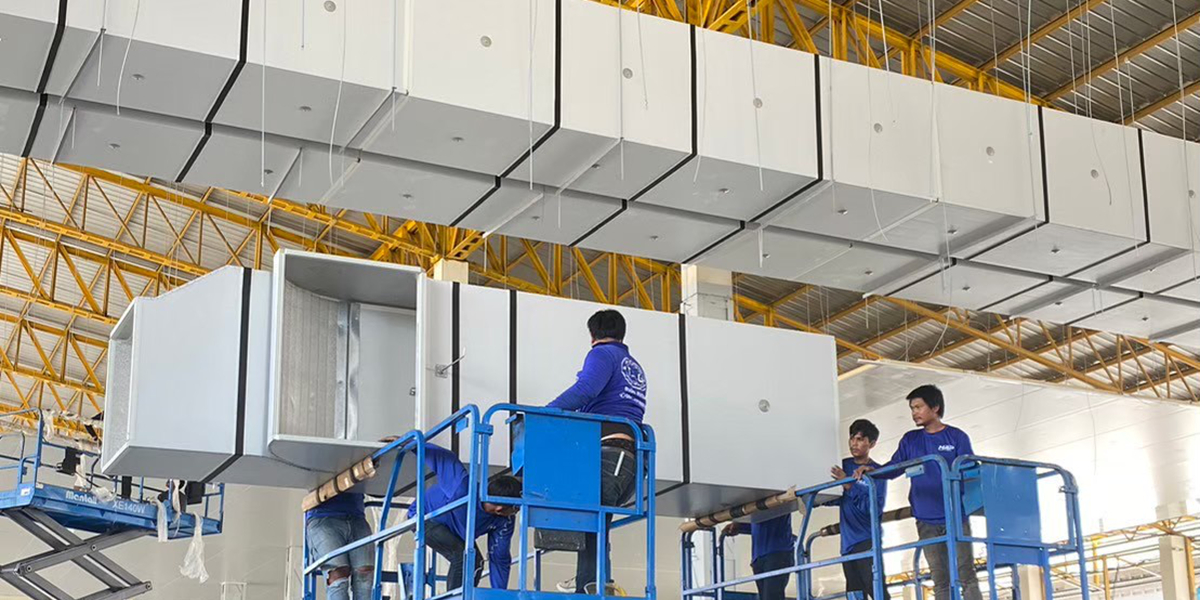
4.3 Pre-Insulated Ducts (PID)
Made from PIR, PU or Phenolic foam panels, coated with aluminum foil or pre-painted GI sheets for insulation and airtightness.Naturally airtight due to seamless material construction.
Airtightness Requirements:
- Seams & joints should be bonded with specialized sealants und aluminum foil tape to prevent leakage.
- Ensure intact internal coating to prevent long-term air seepage.
5.Duct Airtightness Testing Standards
| Standard | Scope | Key Focus |
|---|---|---|
| ASHRAE 111 | U.S. Standard | Defines duct leakage testing procedures. |
| SMACNA Leakage Test | U.S. Standard | Covers airtightness for low, medium & high-pressure ducts. |
| ISO 5801 | International Standard | Specifies airflow & leakage measurement methods. |
| GB 50019-2015 | Chinese National Standard | Sets acceptance criteria for duct construction & airtightness testing. |
6.Conclusion
Duct airtightness directly impacts HVAC system efficiency, energy consumption, and indoor air quality. Methods such as pressure testing, smoke testing, and ultrasonic leak detection ensure proper sealing. Different duct types (Pre-Insulated Ducts, Rectangular Ducts, Spiral Ducts) require tailored airtightness solutions. Following strict standards like ASHRAE 111, SMACNA, and GB 50019-2015 guarantees a high-performance, leak-free HVAC system.